Maintenance
The IPSL Boundary Condtion Editor is developped on GitHub and automatically deployed to https://climate_sim.osupytheas.fr.
General Maintenance
Get access to the containers
- Navigate to Portainer
- Use your OSU login details.
- Click on dev:

- Click on Stacks:
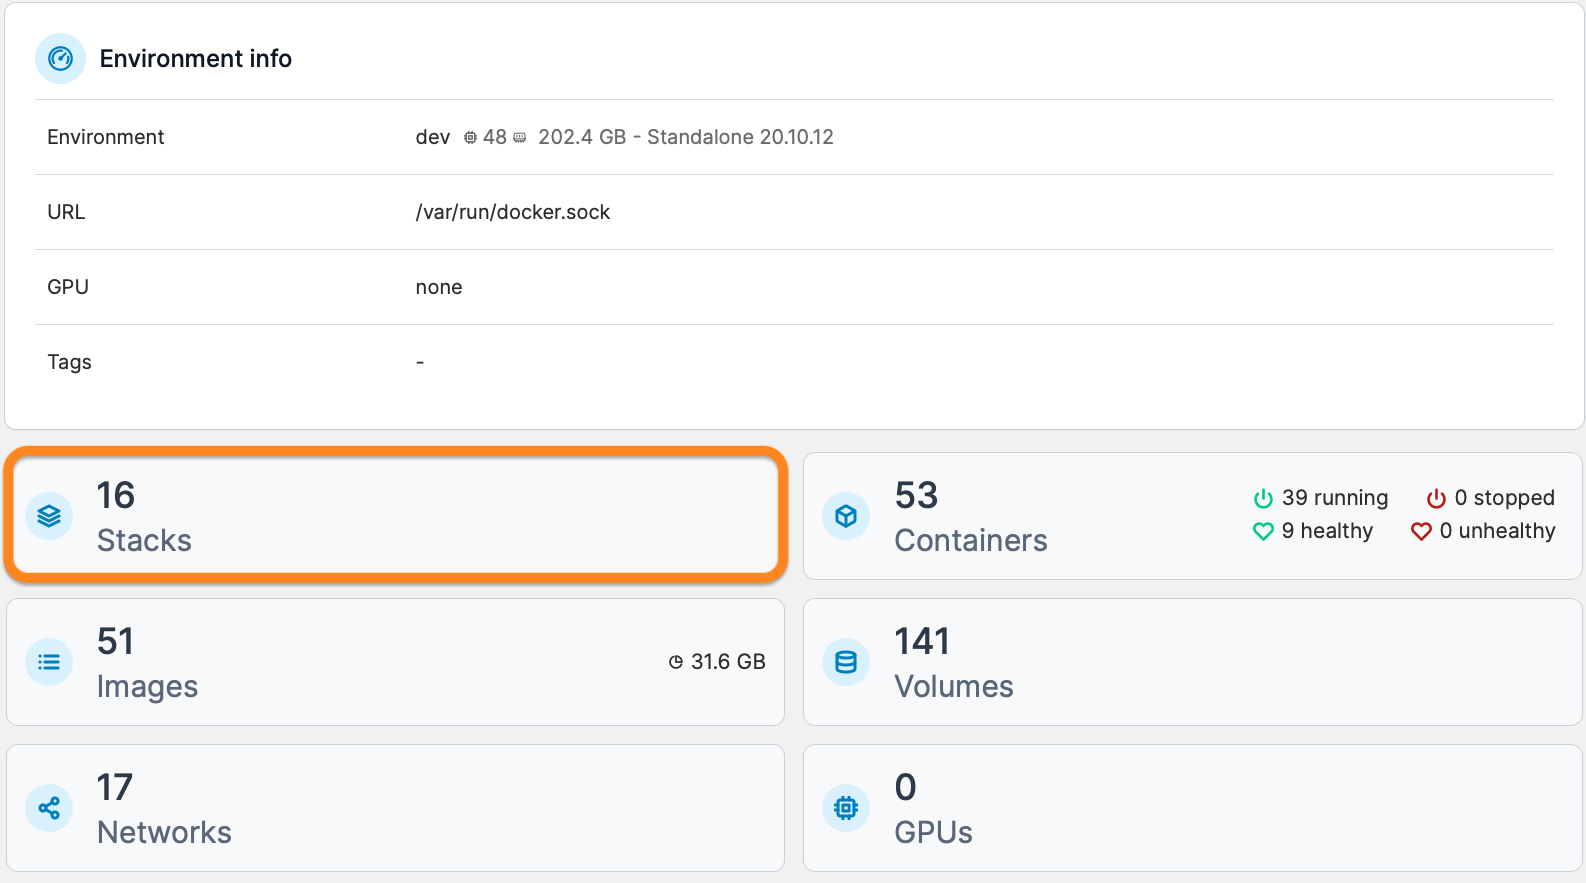
- At this step, you can either clic on the:
- netcdf stack name which is the Single Page
- climsim stack name which is the Multi Page
For the rest of the section we will use the climsim stack but it is identical for the netcdf stack except there will be only one container.Click on climsim:
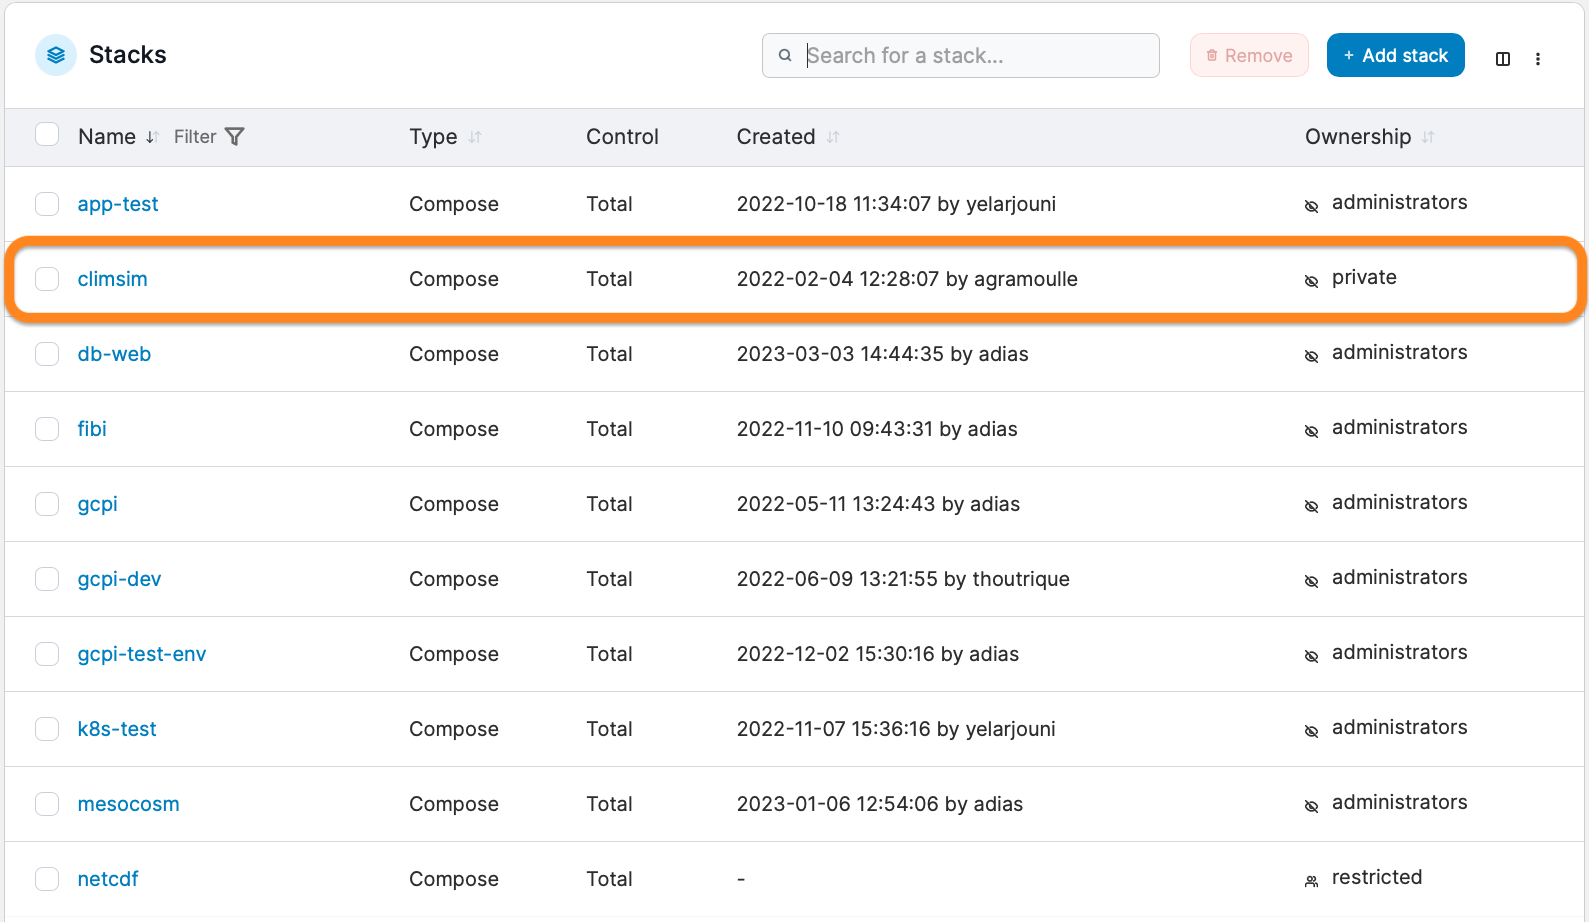
-
Stack details and list of containers will be displayed:

- For each container, you have access to several options under the Quick Actions column:

-
 log of the container
 -
 informations about the container
 -
 resource usage of the container
 -
 console inside the container
-
Managing containers
You can perfom several actions over one or multiple containers.
For this, select them by ticking the box on the left side and then selecting the action you want to perform.

 action to redeploy a container in case it doesn't work properly.
Redeploying the Stack
This can be necessary after a power cut for example or if you accidentally removed a container.
- Once you are on the stack details and container list page (step 6 of Get access to the containers)
-
Click on Editor:
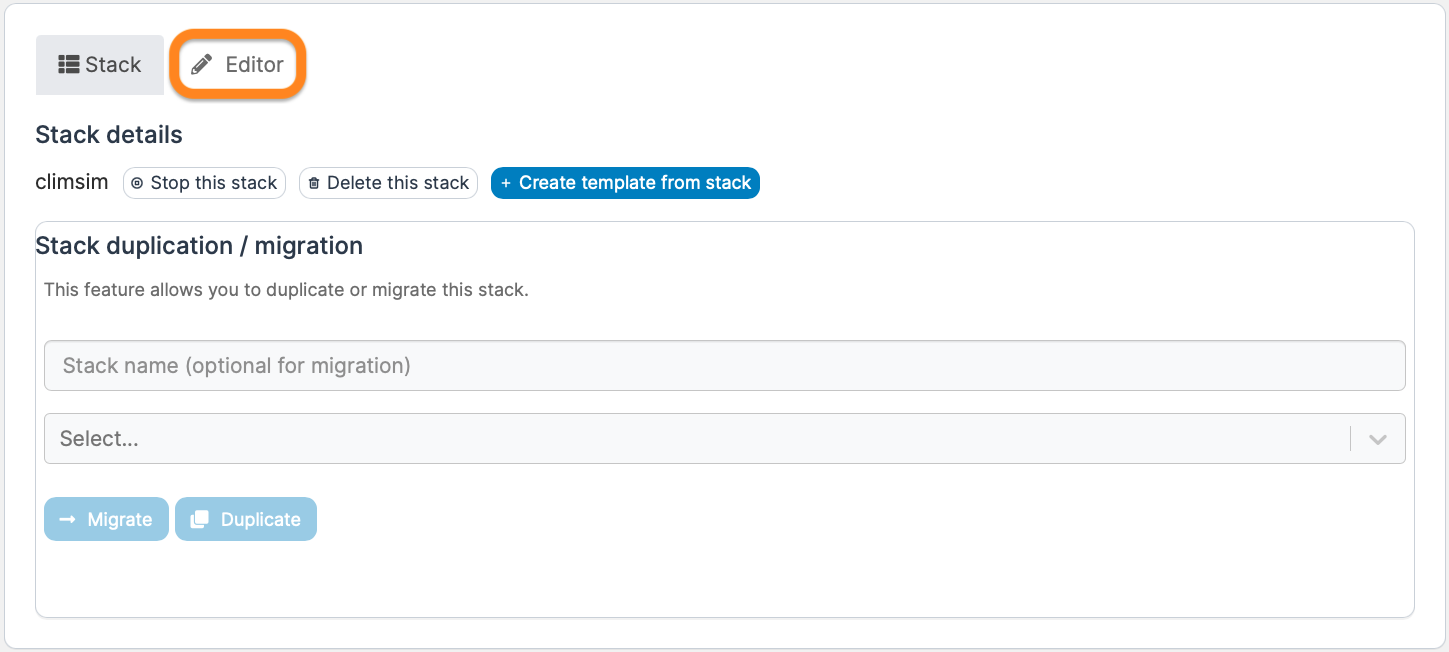
-
The docker-compose will be displayed here (You might need to do some changes in it):
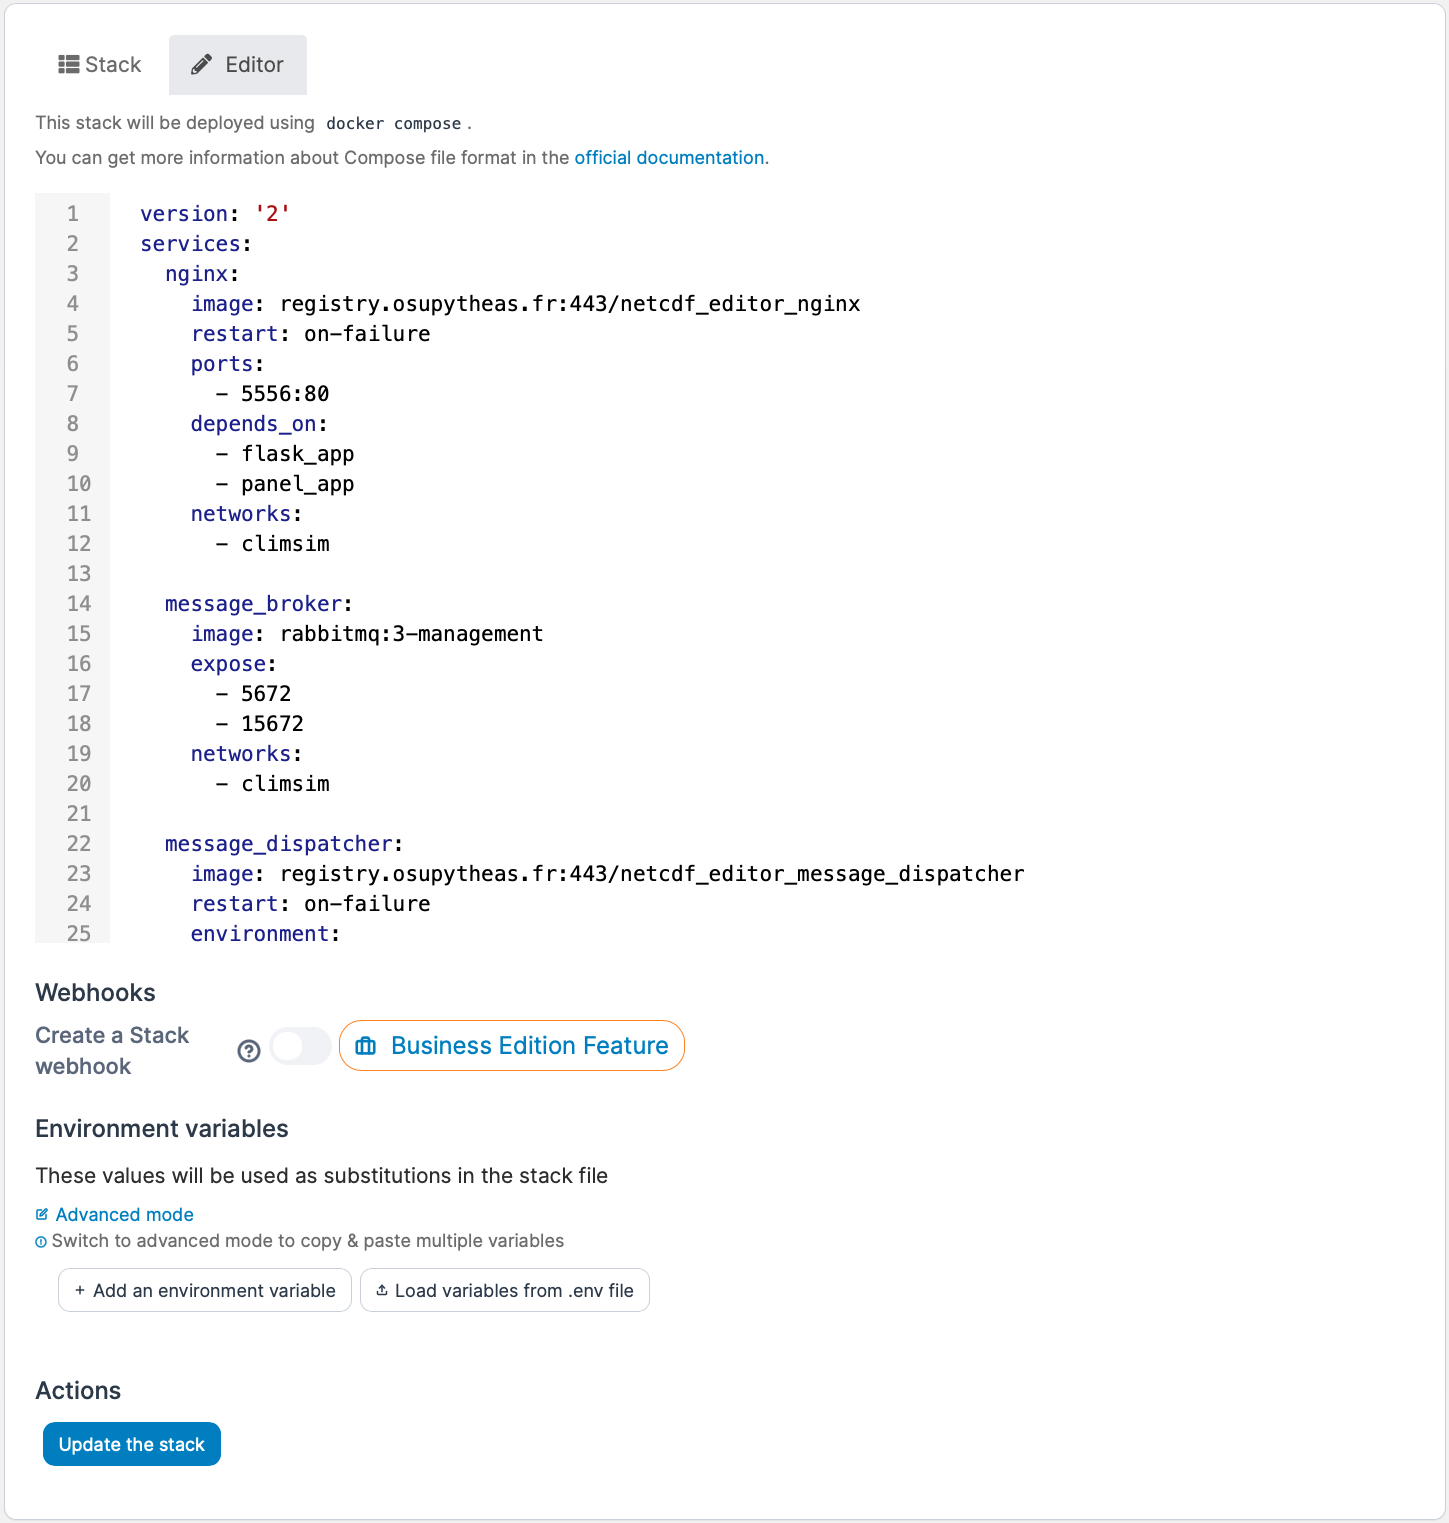
-
Click Update the stack (this will repull all the images and redeploy all containers):

- A box will appear asking you to confirm. Tick the Re-pull image and redeploy box and click Update button.
Database management
At some point you might need to reach the application database. The steps below describe how get access and somme useful commands.
Access to the console of climsim_flask_app_1 container (step 7 of Get access to the containers).
Once in the console use the commands
apt-get update
apt-get install sqlite3
Go to the instance folder:
cd /usr/src/app/instance
You can access the db by using the command:
sqlite3 netcdf_editor.sqlite
You can list the tables available in the db with:
.tables
To display all the content of table, use:
select * from [TABLE];
With [TABLE] the table name you want to look at.
Other commands can be found on the official Sqlite website.
Process queue management
Access to the console of climsim_message_broker_1 container (step 7 of Get access to the containers).
Once in the console use the following commands to list the available queues:
rabbitmqadmin list queues
To see the processes in a specific queue, use:
rabbitmqadmin get queue=[QUEUE_NAME] count=40
[QUEUE_NAME] can be found using command to list queues available.
More information can be found on the offcial rabbitmq website.
Images hosting
Each time new images are generated by Github actions, they are pushed to the Osupytheas registry and DockerHub.
On GitHub, the file responsible for the creation of the images and their deployment (to DockerHub and Osupytheas registry) is docker-image.yml.
DockerHub
Images are pushed to DockerHub (https://hub.docker.com/) with only a tag latest.
GitHub action is able to push images to DockerHub thanks to a DockerHub account which is a member of the CEREGE-CL DockerHub organization (See the several command lines docker login -u $DOCKER_USER -p $DOCKER_PASSWORD in docker-image.yml).
In order to work this way, the DockerHub account credentials must be provided in the GitHub Actions Secrets. The two concerned secrets are DOCKER_USER and DOCKER_PASSWORD.
If you want to modify them, clic on update secret button:
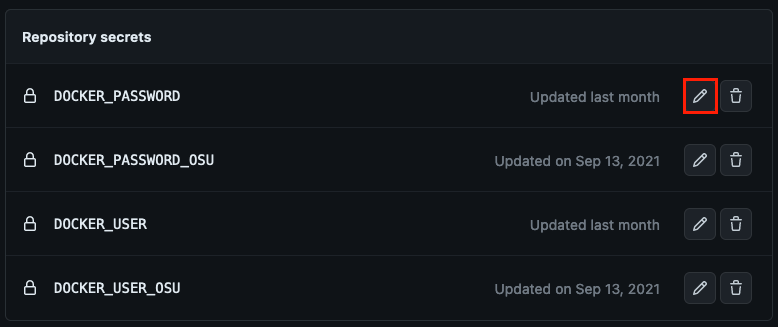
From there, you can generate a new access token and provide it for the
DOCKER_PASSWORD secret in GitHub.
DOCKER_USER_OSU and the DOCKER_PASSWORD_OSU secrets unless requested by the SIP.
DOCKER_USER = anthogDOCKER_PASSWORD = anthog Access token
registry.osupytheas.fr
Images are pushed to the Osupytheas registry (https://docker.osupytheas.fr/) with a tag latest and a tag with the GitHub commit number.
When you reach the registry page, you can look for the netcdf_editor_... images:
![[Visual explanation]](/assets/images/climsim/registry-osu-main.png)
Clic on one of the images to get more information:
![[Visual explanation]](/assets/images/climsim/registry-osu.png)
